
New Defender Drives Requires Formatting

When logging into your new Defender device you may receive a message stating that either the drive is not accessible or that the device has not auto-mounted. This error is caused by the device storage partition not properly formatting during the setup process. To correct this, please follow the steps below for either use on a Windows or Mac system.
For Windows:
- When logged into the device you will see that the storage partition appears grayed out (in this case “Removable Disk E”).

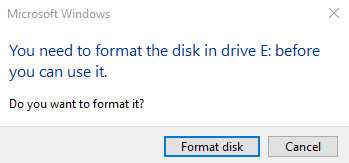
- If you select the drive you will be asked whether you would like to format the device. Select “Format Disk” and wait for the popup to appear.
- Once the pop-up appears, leave all options to the defaults and verify that the option “Quick Format” is selected.
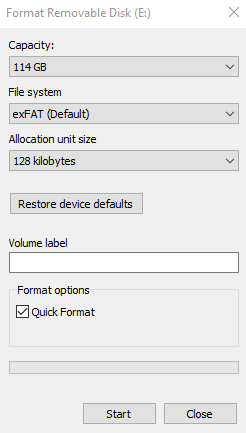
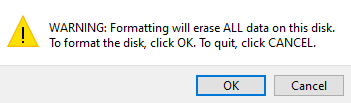
- Select “Start” and the format process will begin. You may be asked if you are sure you would like to proceed and you will need to select “OK”.
- When the format has completed, you will then be able to start saving your data to the device.
For Mac:
- When logged into the device you will receive a message stating “Security Partition is not auto-mounted.”
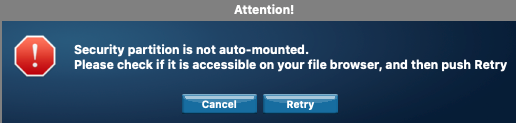
- When this message is received, leave it open and locate the drive “SecureUSB” located within “Disk Utility”.
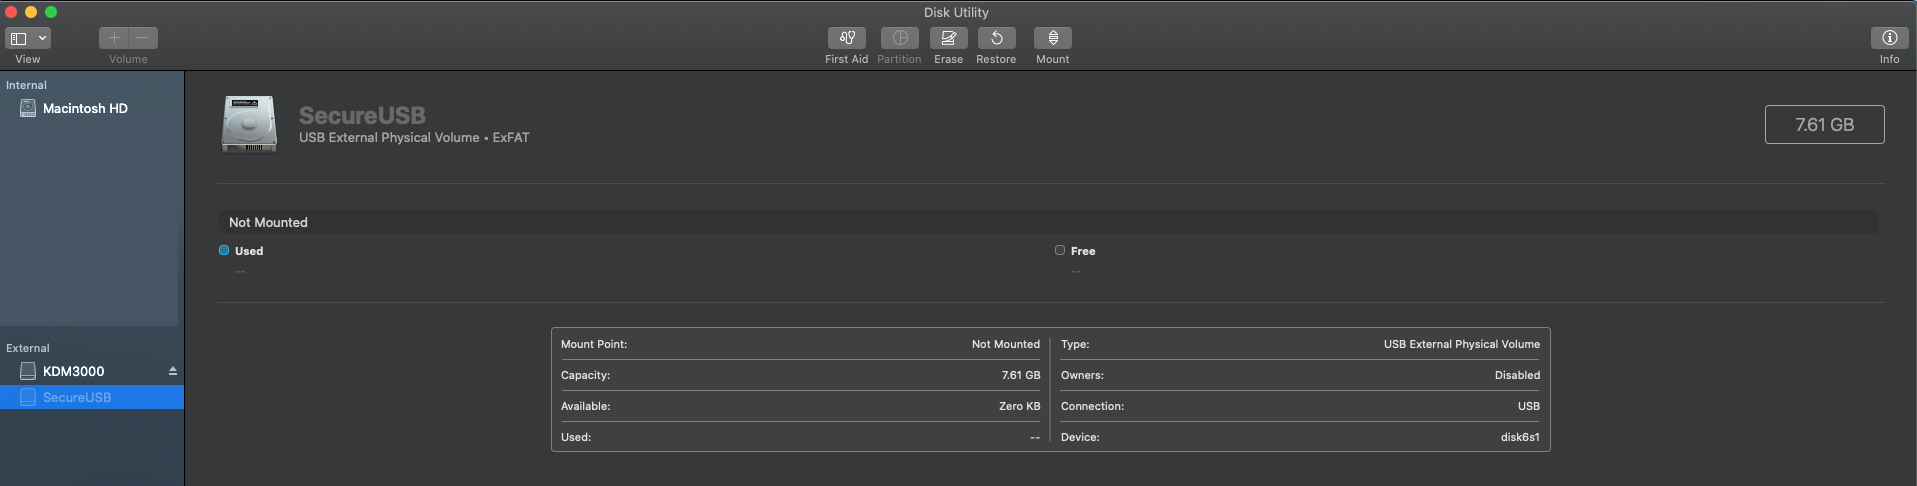
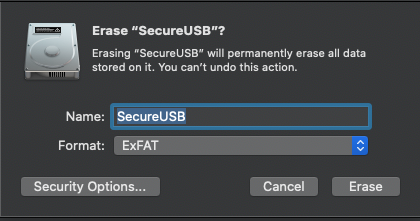
- When the drive is located, select “Erase”. On the pop-up that appears at the top of the screen, leave the settings on the defaults and select “Erase”.
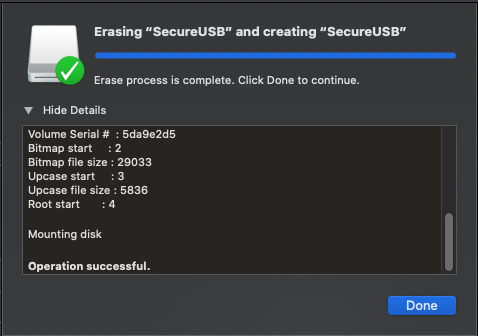
- When the device has been formatted successfully you will need to select “Done”.
- Lastly, go to the error message of “Security Partition is not auto-mounted.” and select “Retry”. The error should no longer appear and you will be able to save your data to your device.


