
HD Pro Duplicator - Kicking Slow Drives - Automatically Kick Slow Drives

You can configure some settings in the Advanced Setup menu that will allow the duplicator to automatically kick any drives that meet a specific, defined criteria. The options that need to be configured in the Advanced Setup menu are: Auto Kick Slow, Set Kick Time, and Set Kick Speed.
To configure your duplicator to automatically kick slow drives:
- Power on the duplicator.
- From the Main Copy Menu press the ESC button to enter the Menu Select mode.
- Press the Up or Down buttons until you see Advanced Setup.
- When Advanced Setup is displaying for you, press the ENT button to enter this menu.
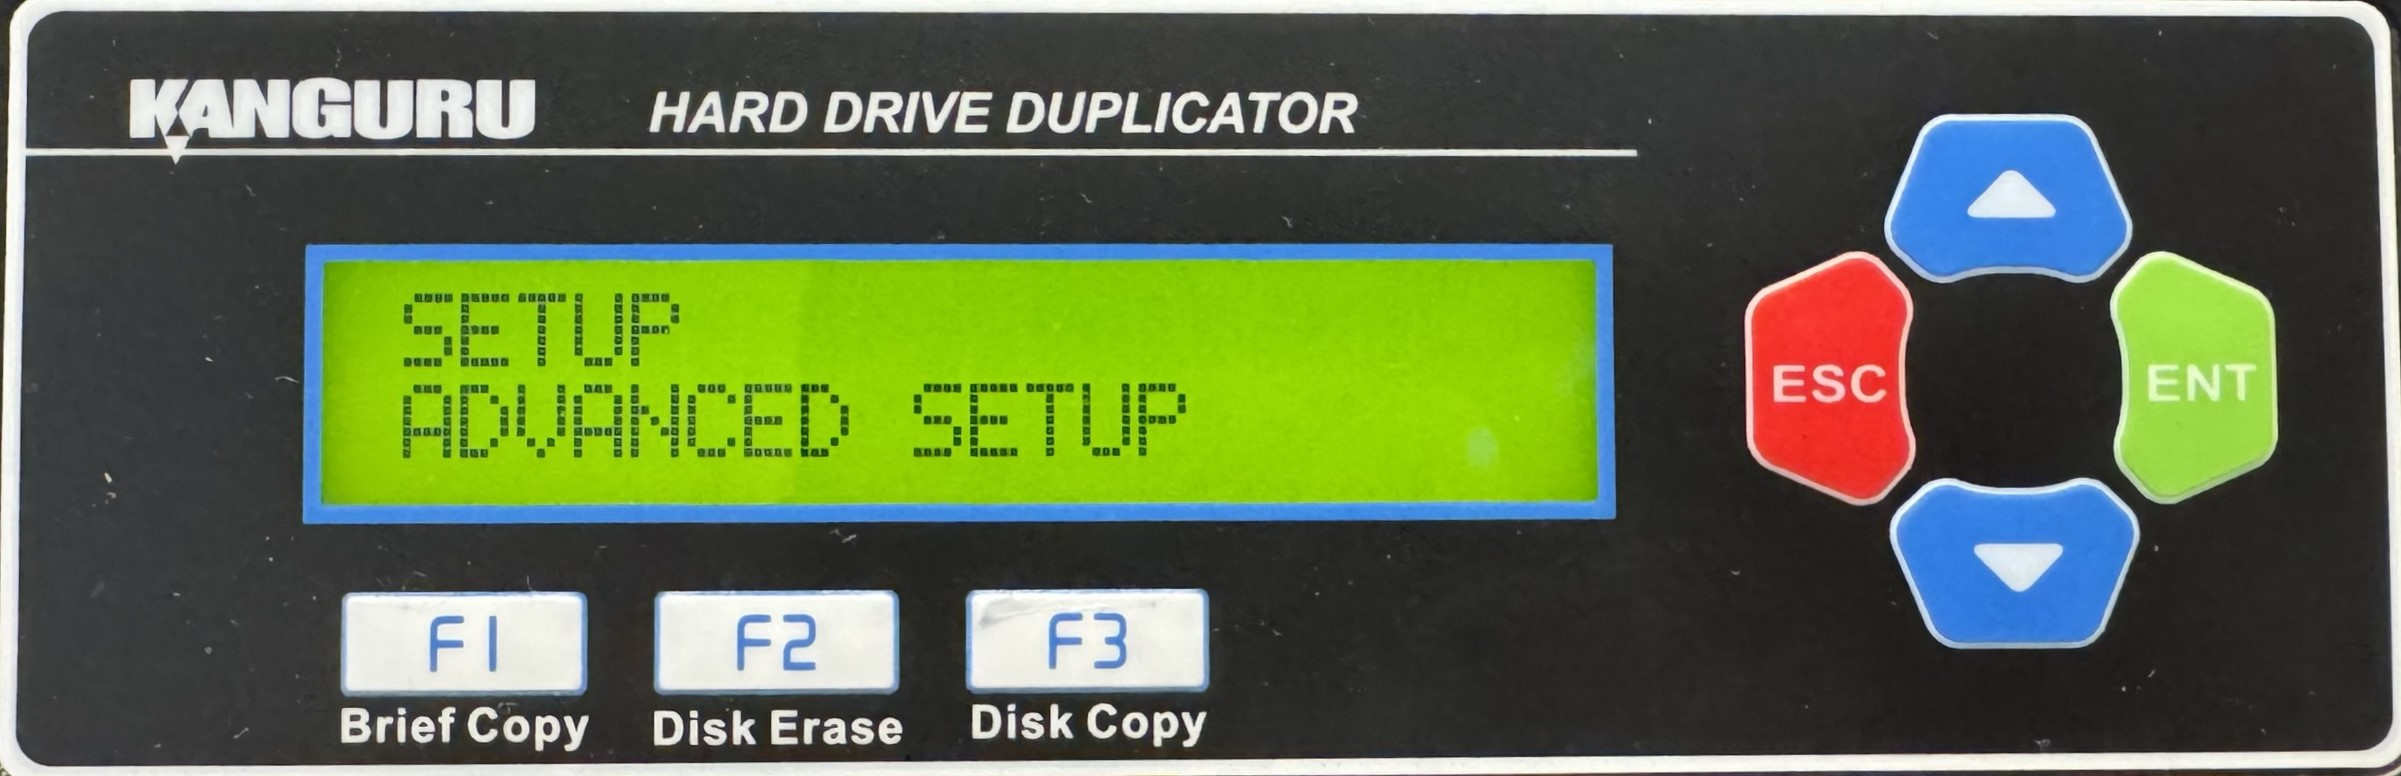
- Press the Up or Down buttons until you see Auto Kick Slow.
- When Auto Kick Slow is displaying for you, press the ENT button to enable the setting.
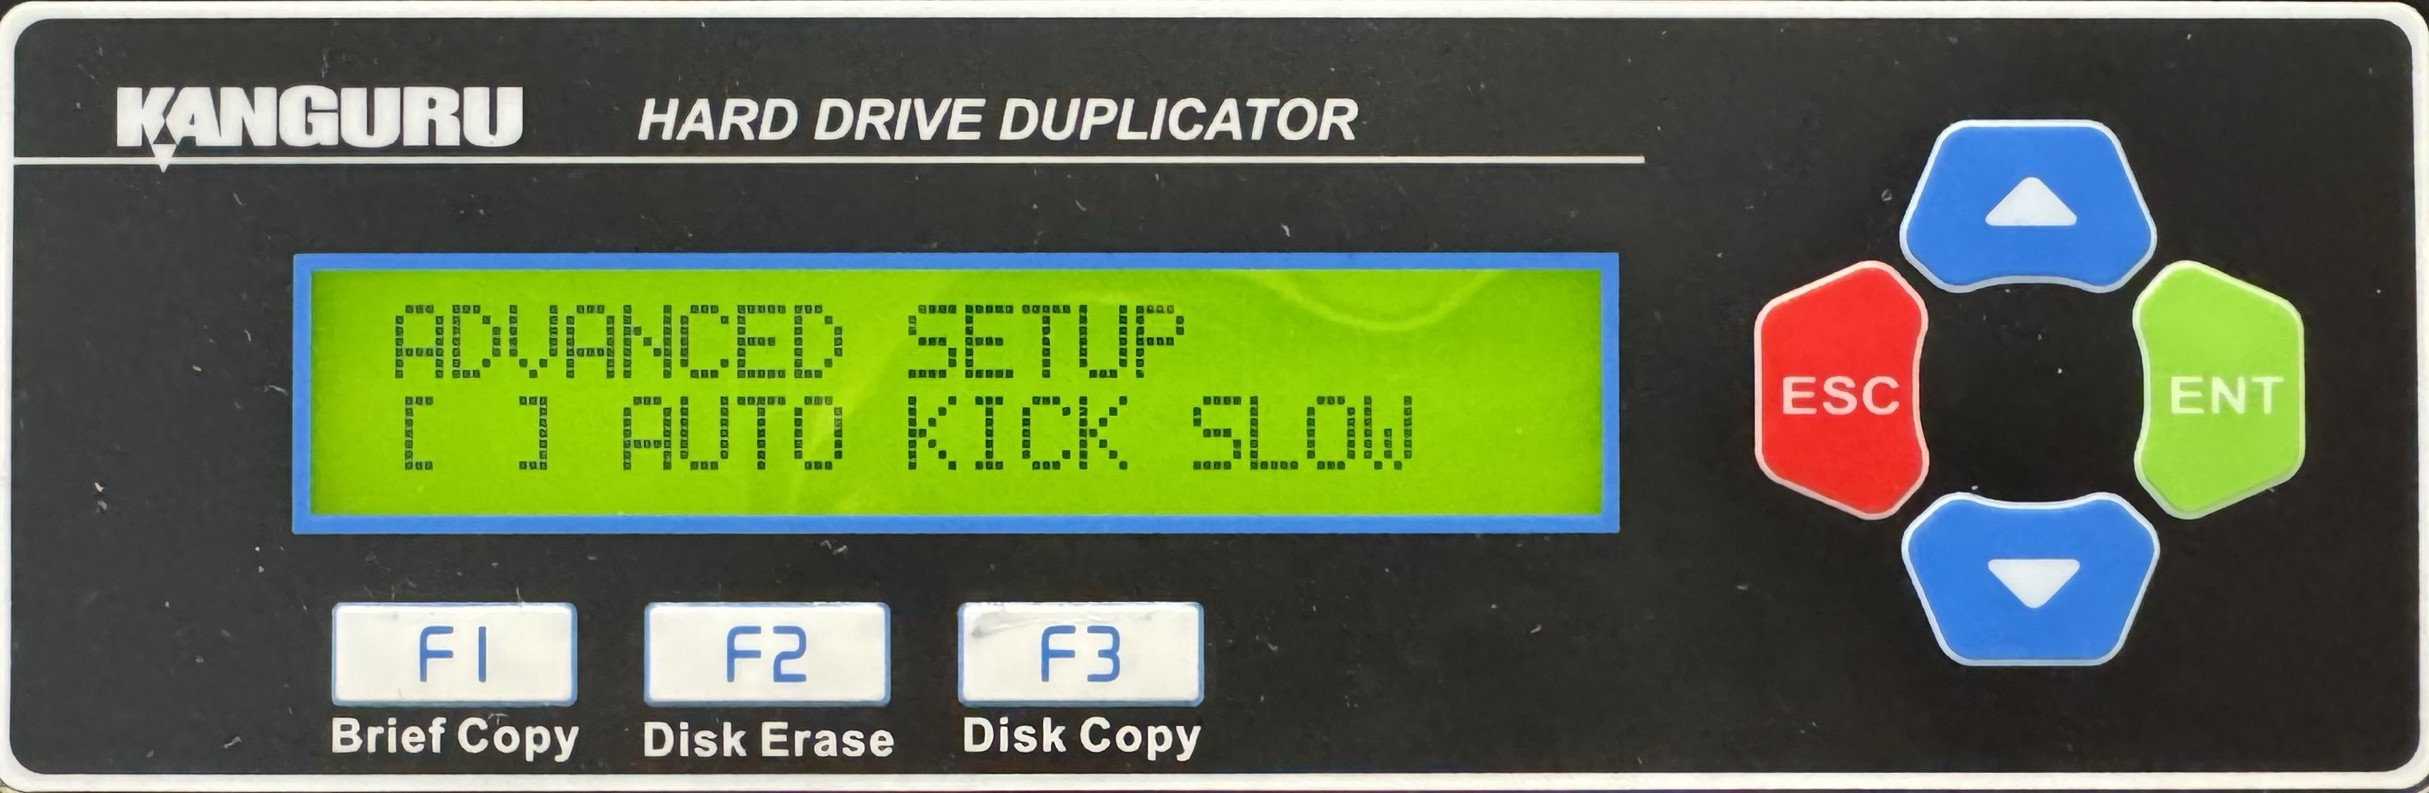
- Once you have altered the setting, press the Up or Down buttons until you see Set Kick Speed.
- When Set Kick Speed is displaying for you, press the ENT button to alter the setting. Drives that fall below this speed will be kicked after a designated amount of time.
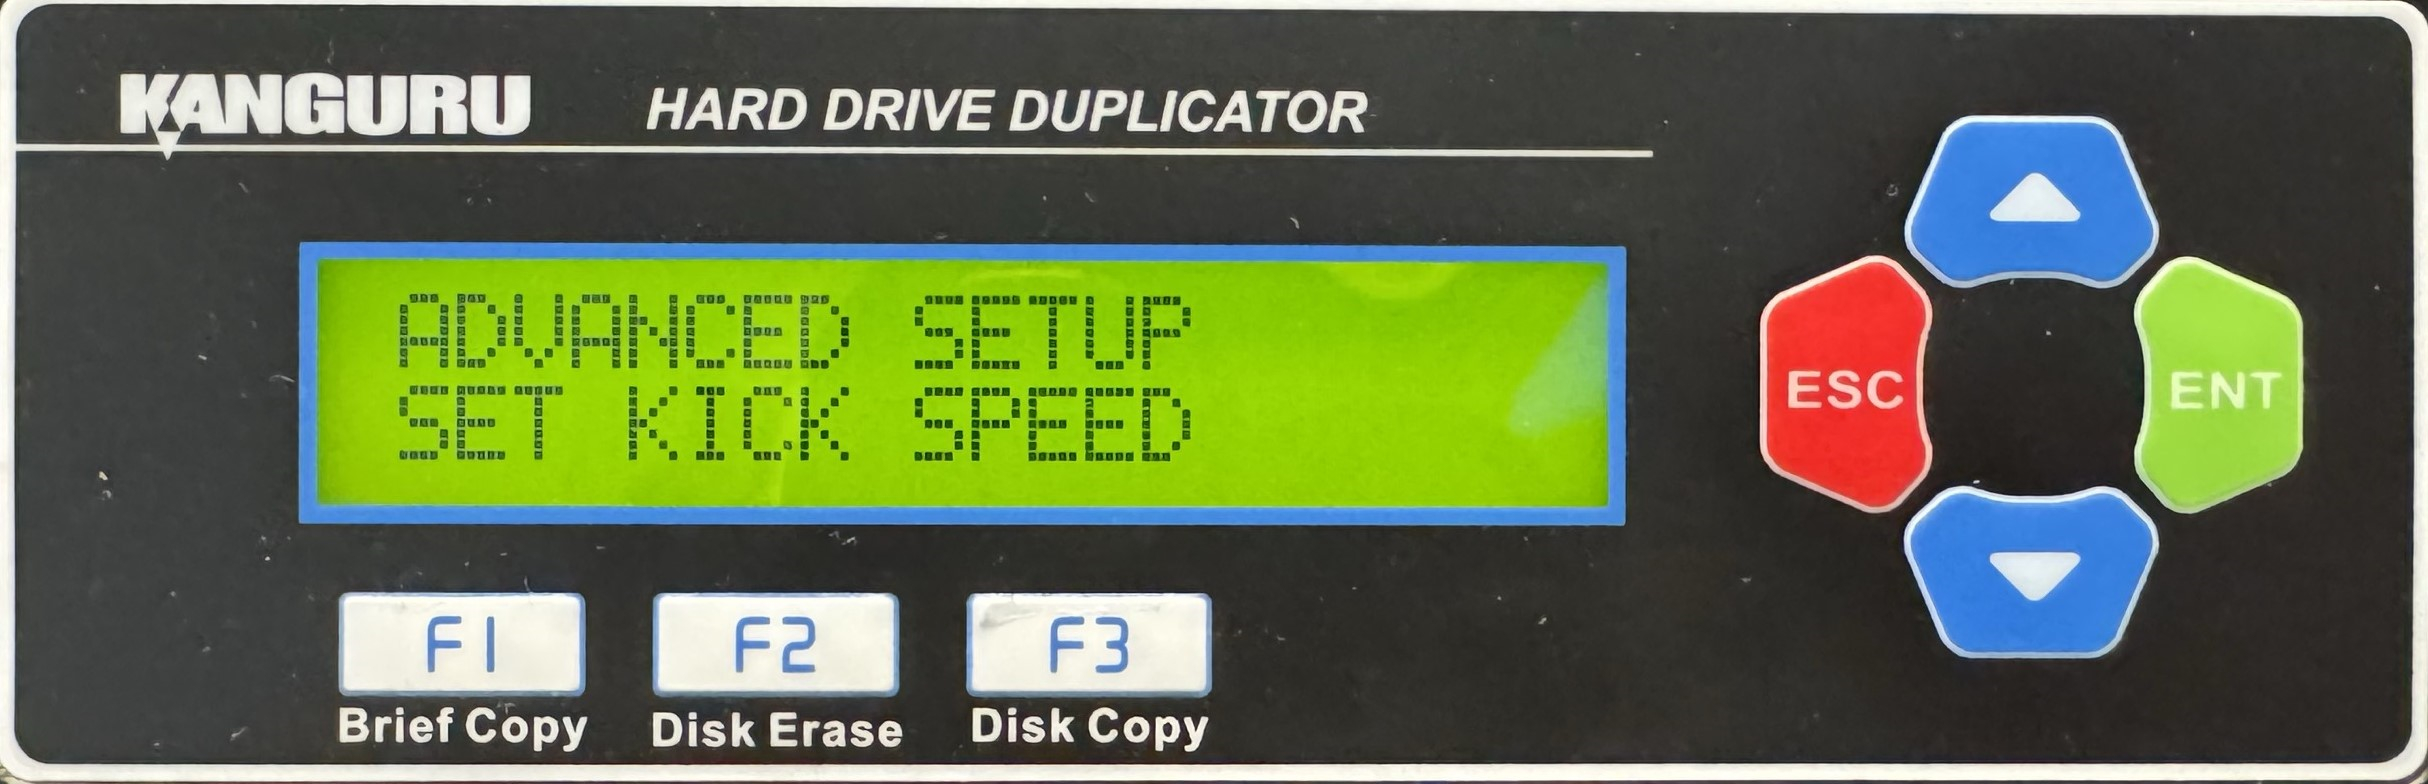
- Use the Up or Down buttons to alter the setting.
- Press the ENT button to save the setting.
- Press the Up or Down buttons until you see Set Kick Time.
- When Set Kick Time is displaying for you, press the ENT button to alter the setting. Drives that fall below the speed designated in the Set Kick Speed option for this amount of time will be kicked.
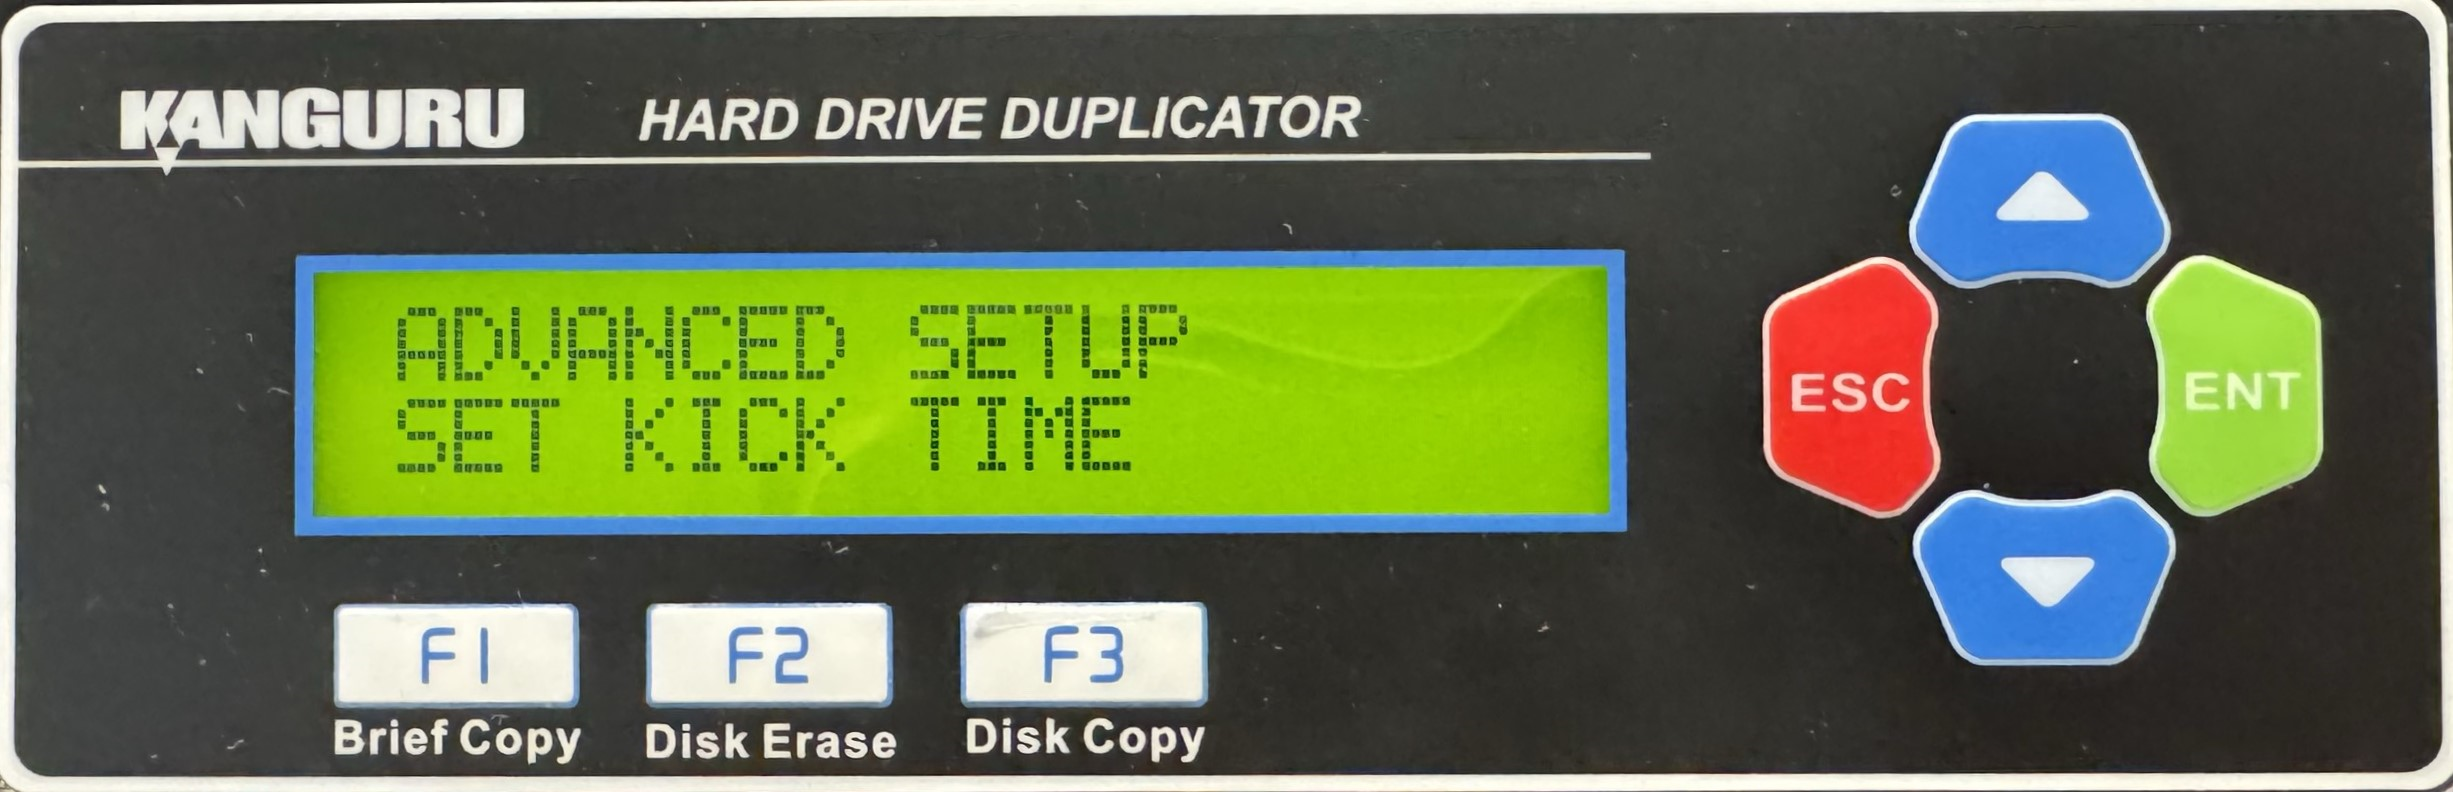
- Use the Up or Down buttons to alter the setting.
- Press the ENT button to save the setting.
- Press the ESC button to return to the Menu Select mode.
If Auto Kick Slow is enabled, then during a copy, compare or erase operation, any drives that fall below the Set Kick Speed for the time defined by Set Kick Time will automatically be ejected from the operation. The red LED will appear next to the ejected drive. Do not disconnect the ejected drive from the duplicator until the current operation is completed.


