
11-Target NVMe Duplicator - General Operation - Load

Load function allows you to store disk image files to a Storage Center drive. A Storage Center drive is an NVMe drive that has been formatted to store image files of Source drives, providing a convenient way to archive and load commonly used Source drives as images files.
Create a Storage Center Drive
To turn a normal NVMe drive into a Storage Center drive, you only need to format it as NTFS.
Once the format has completed successfully, this drive can now be used as a Storage Center drive. You can capture and load Source image files to and from the Storage Center drive.
Capture a Source Drive as an Image File
You can use the duplicator to capture an image file of a Source drive onto a Storage Center drive.
To capture an image file of a Source drive on the Storage Center drive:
- Connect the Storage Center drive to the Source port.
- Connect the Source drive to the #11 Target port.
- Tap Load.
- Select whether to create a Full or Brief image file.
- Set the Image File name, confirm the Source (From Device) and Storage Center (To Device) position and tap OK to begin.
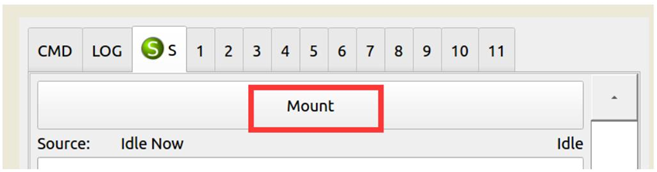
Once complete, an image file of the Source drive is saved on the Storage Center drive. You can view a list of image files saved on the Storage Center drive by tapping the “S” tab and then tapping the Mount button.
Copy or Compare From an Image File
After you have captured an image file on the Storage Center drive:
- Connect the Storage Center drive to the Source port. Connect any Target drives.
- Tap the “S” tab
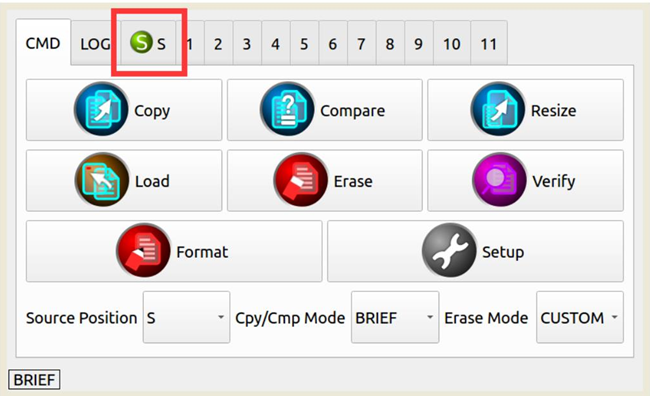
- Tap the Mount button to display a list of all image files saved on the Storage Center drive.
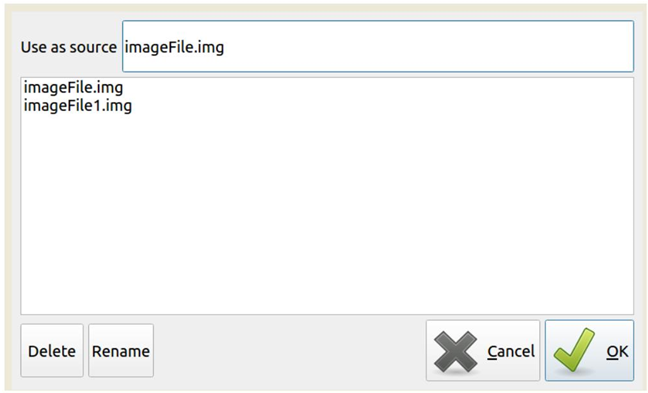
- Select an image file and then tap OK.
- When you go back to the Main Menu, you will see the image file selected appear in the lower-left corner:
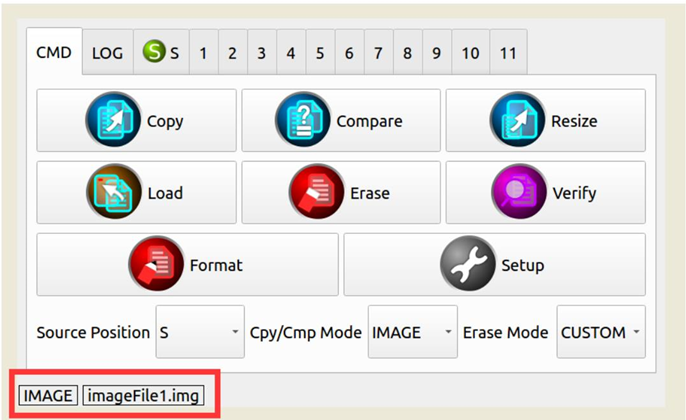
- Set Cpy/Cmp Mode is set to “Image”.
- Tap Copy or Compare to begin the process.


