
HD Pro Duplicator - Main Setup - Burn In

The Burn In option allows the you to enable a continuous Copy, Compare, Verify, Erase or Load function to stress test for endurance, reliability and stability of your drives.
The Burn In can be set to: 5, 10, 20, 50 or MX.
The number here will tell the system how many times it should repeat the Burn In test.
The next time you run a Copy, Compare, Erase or Load operation, the duplicator will continue running that function as normal. Once the operation has completed the screen will display the total execution time and the operation count. Once this information has been displayed for a few seconds the operation will start again automatically. This will be repeated until the Burn In value has been reached.
Note: If set to MX, the Burn In test will run continuously until you manually stop it. You can stop the burn in test at any time by pressing and holding the “ESC” button for three seconds. This will automatically disable the Burn In function and the duplicator will return to normal functionality.
To alter the Burn In setting:
- Power on the duplicator.
- From the Main Copy Menu press the ESC button to enter the Menu Select mode.
- Press the Up or Down buttons until you see Main Setup.
- When Main Setup is displaying for you, press the ENT button to enter this menu.
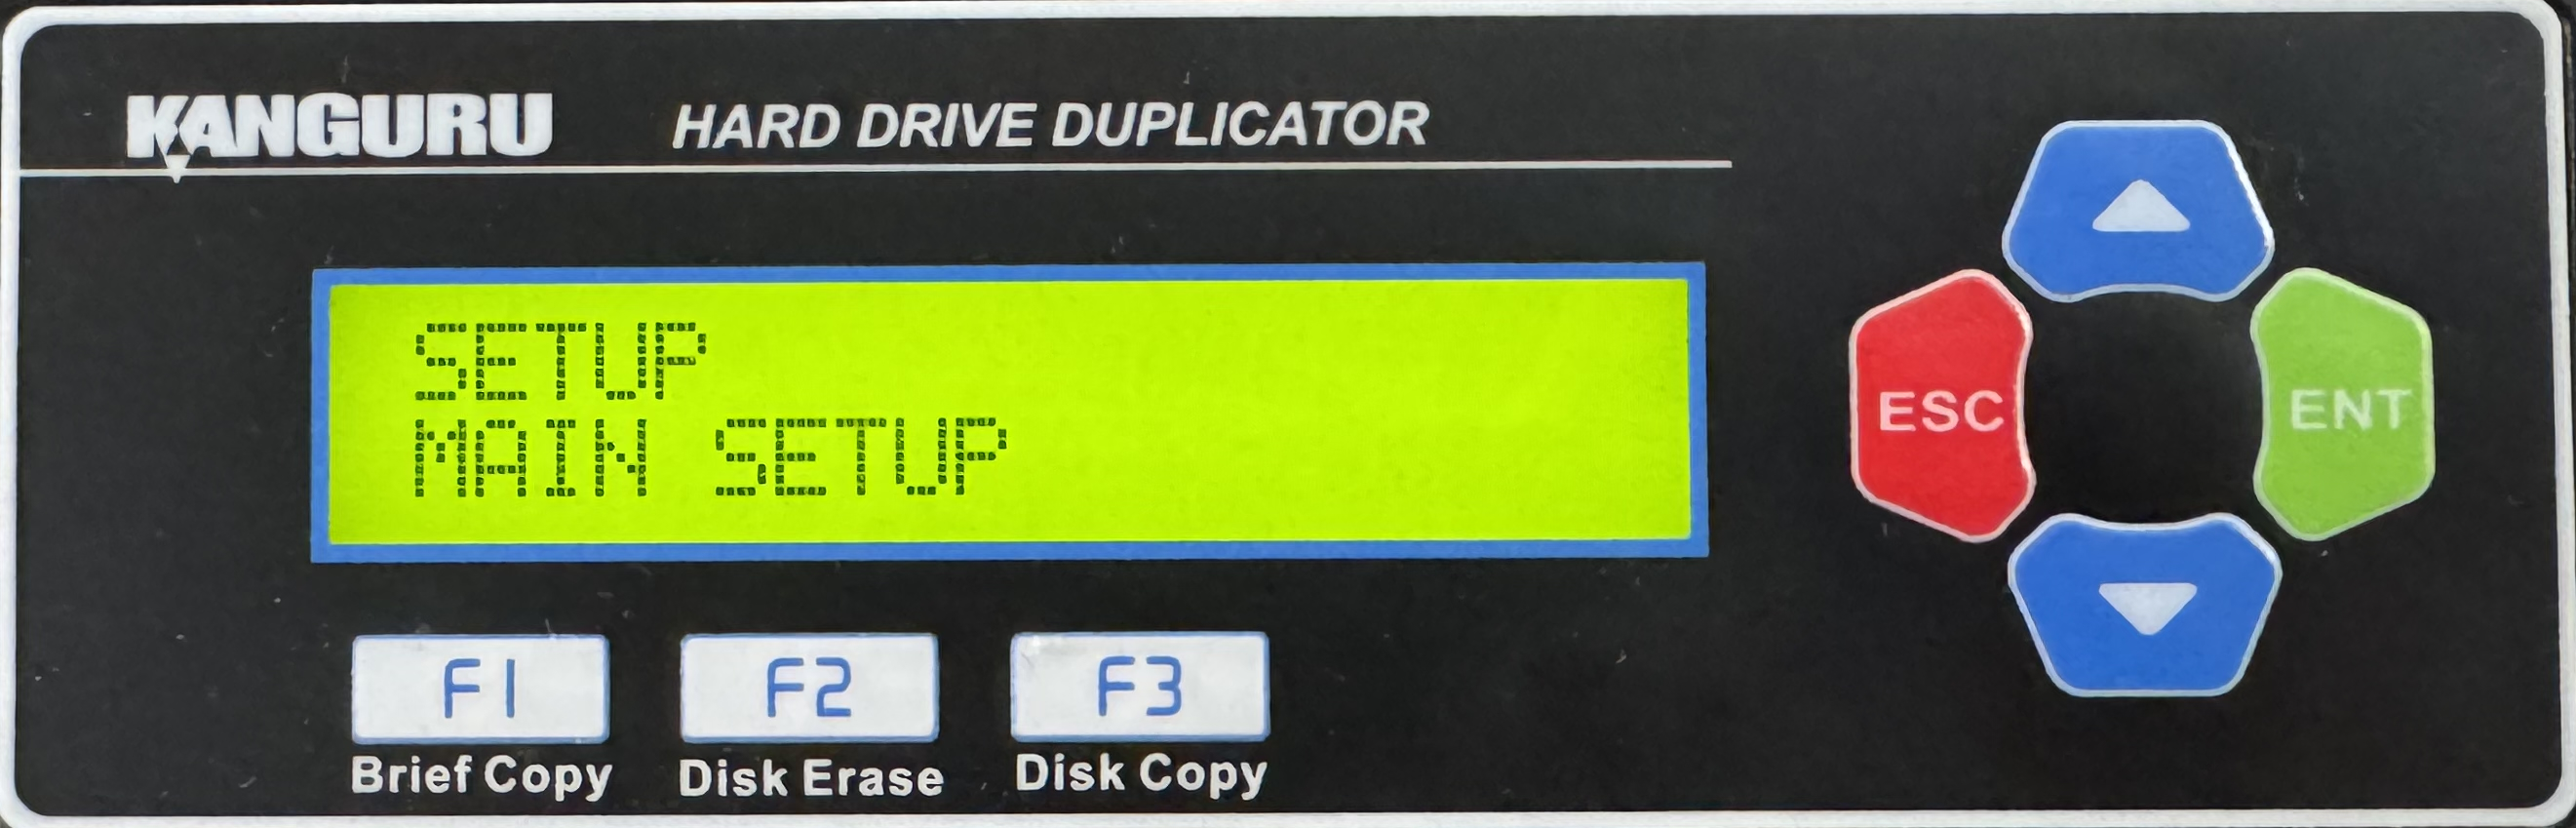
- Press the Up or Down buttons until you see Burn In.
- When Burn In is displaying for you, press the ENT button to alter the setting.
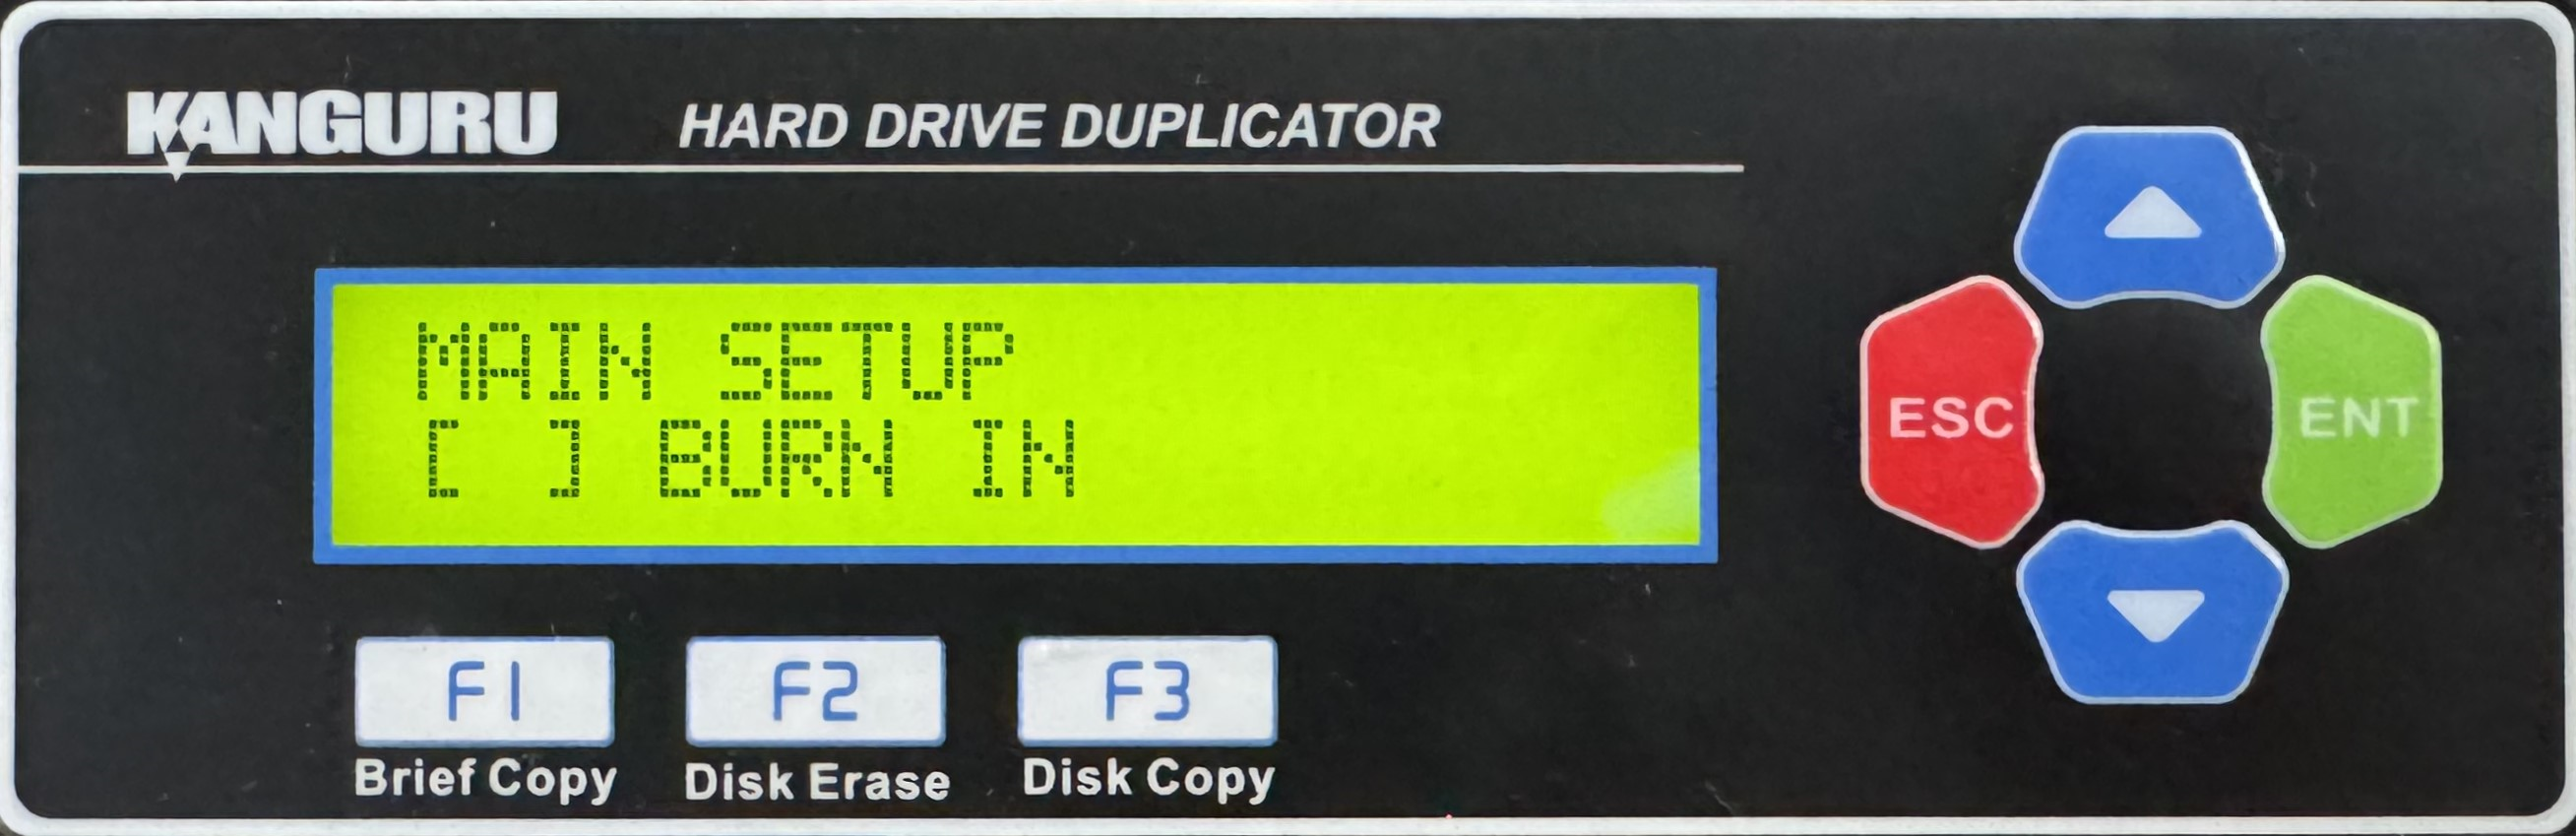
- Use the Up or Down buttons to alter the setting.
- Press the ENT button to save the setting.
- Press the ESC button to return to the Menu Select mode.


