
HD Pro Duplicator - Duplicating From a Storage Center - Formatting

Before you can utilize a Storage Center, you need to format a drive using the duplicator.
To format a hard drive as a Storage Center:
- Power on the duplicator.
- Connect the drive you are looking to use as a Storage Center drive to the Source port on the duplicator.
- From the Main Copy Menu press the ESC button to enter the Menu Select mode.
- Press the Up or Down buttons until you see Storage Center Setup.
- When Storage Center Setup is displaying for you, press the ENT button to enter this menu.
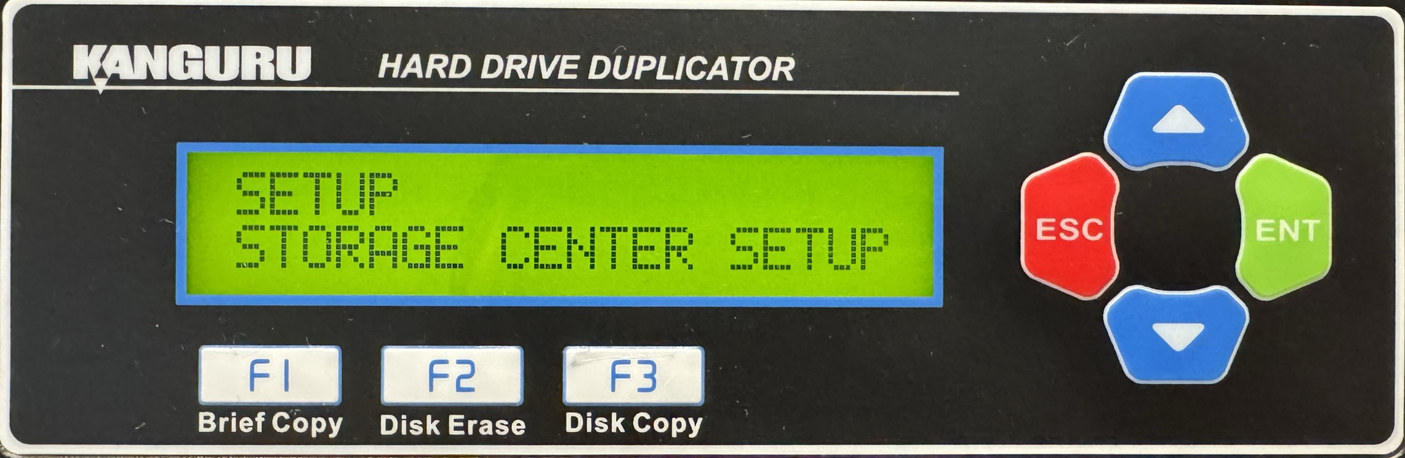
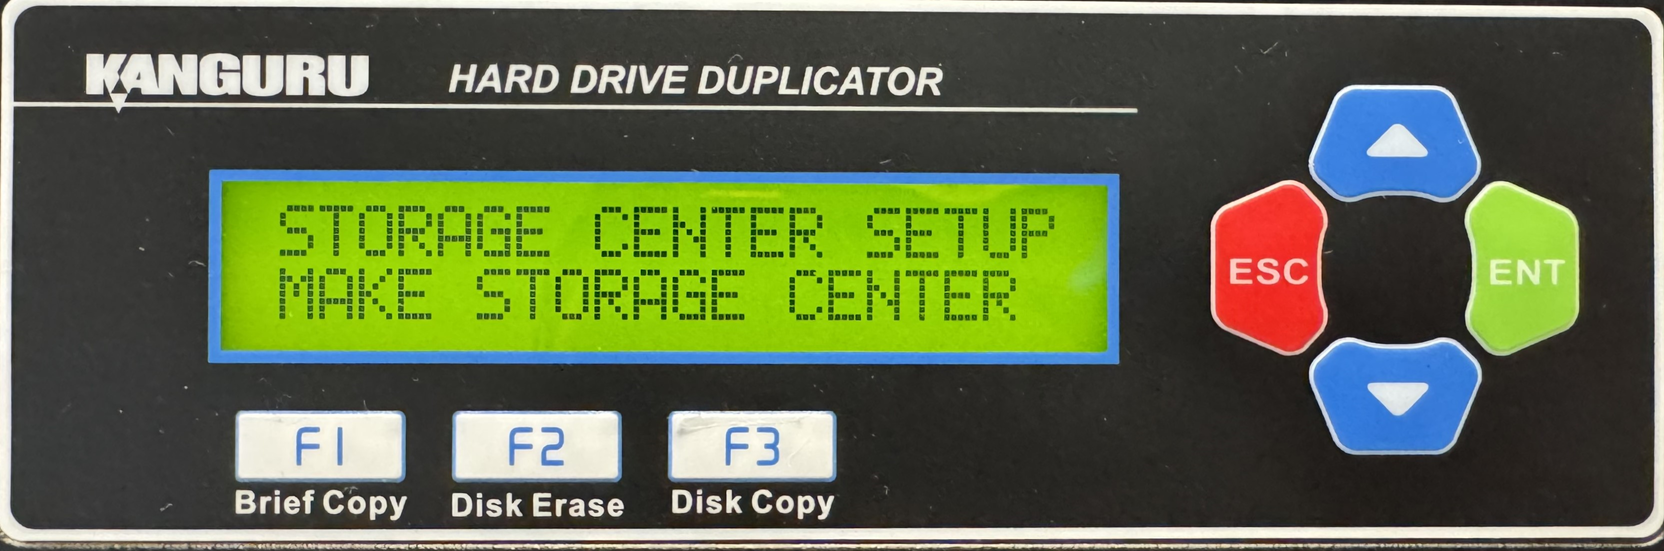
- Press the Up or Down buttons until you see Make Storage Center.
- When Make Storage Center is displaying for you, press the ENT button to alter this setting.
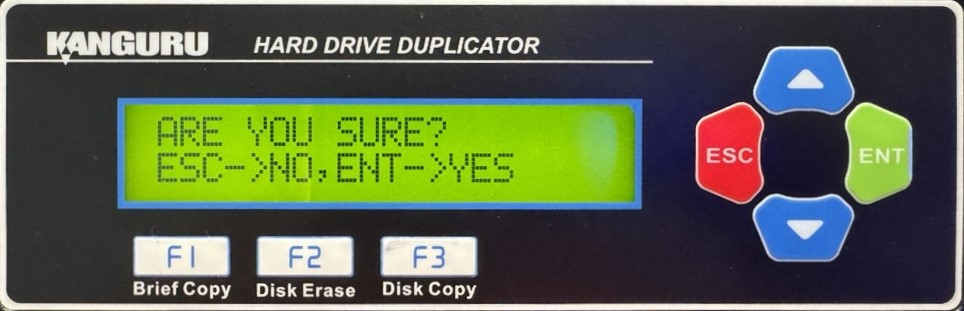
- You will be displayed a confirmation message on the screen. Press ESC if you would like to stop the process or press ENT to continue with the process. WARNING! Making a hard drive into a storage center drive will require it to be formatted, which will erase any data previously saved to it.
- When successful formatted you can press the ESC button to return to the Menu Select mode.
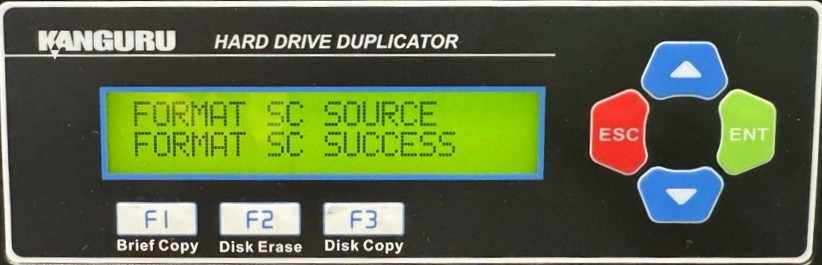
Once the format has completed successfully, tap any button to return to the Storage Center Setup menu. Your hard drive has now been formatted as a Storage Center. You can now load images of Source HDD’s to the Storage Center for convenient duplication.
Note: When connected directly to a computer, a hard drive formatted as a Storage Center will not be recognized by most operating systems. The Storage Center uses a proprietary format not recognized by most operating systems.


