
HD Pro Duplicator - Main Copy Menu - Self Diagnostic

The Self Diagnostic feature allows you to run tests to verify the health of the duplicator and of any connected drives. If you are experiencing a high rate of failures during the duplication process, there could be something mechanically malfunctioning with the duplicator. The Self Diagnostic will generate a log file that can be saved to a USB flash drive. Providing this log file will help an iStorage Kanguru support technician diagnose any problems that could cause duplication failures.
To generate the log file:
- Power on the duplicator.
- From the Main Copy Menu press the ESC button to enter the Menu Select mode.
- Press the Up or Down buttons until you see About Menu.
- When About Menu is displaying for you, press the ENT button to enter this menu.
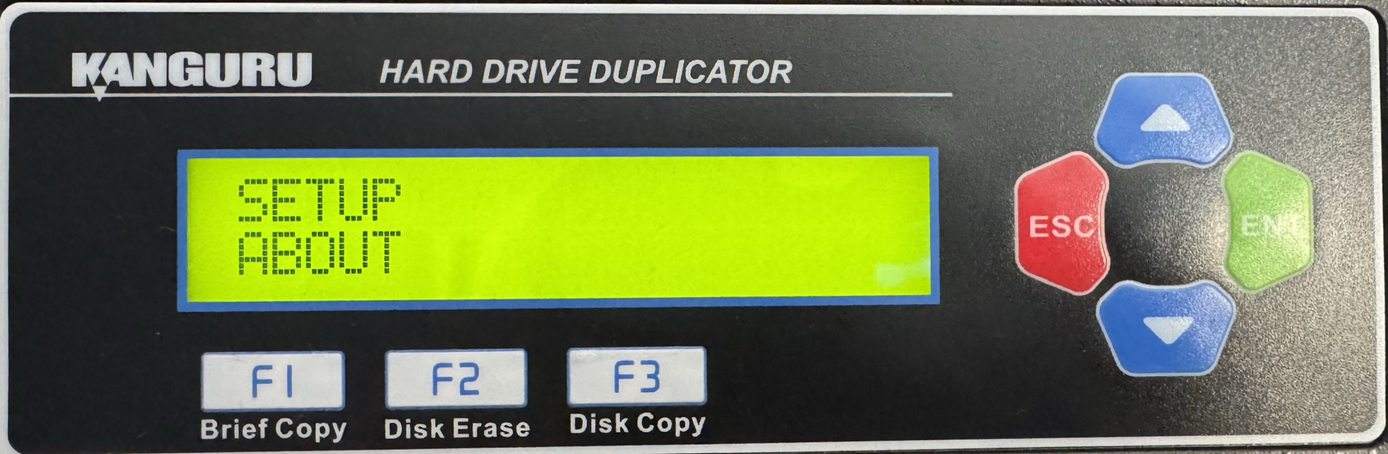
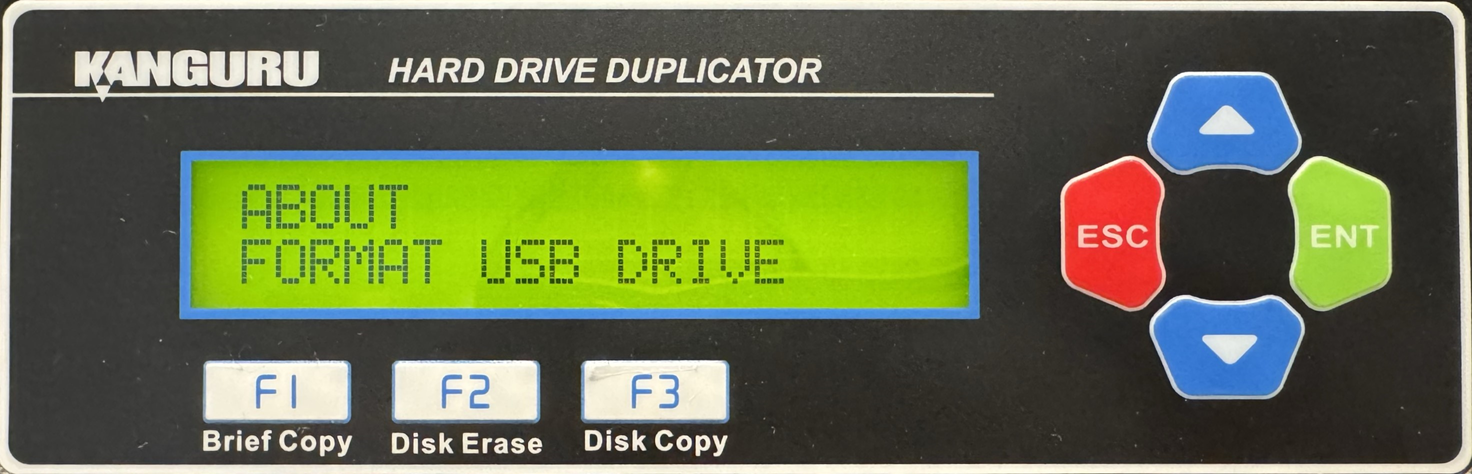
- Press the Up or Down buttons until you see Format USB Drive.
- Connect your USB Drive to the USB port on the back of your duplicator.
- When Format USB Drive is displaying for you, press the ENT button to enter this option.
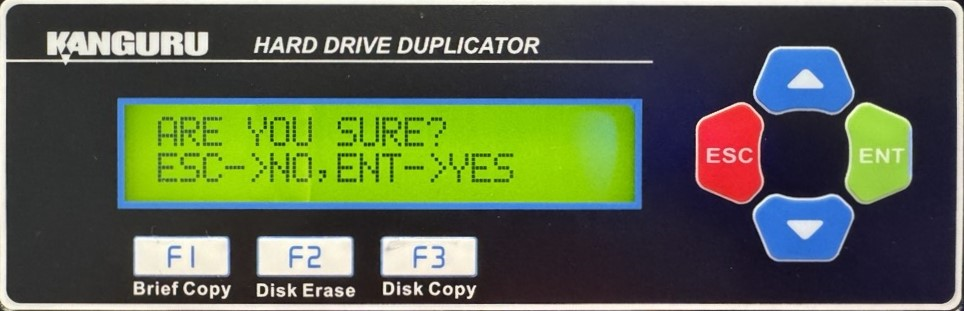
- You will be displayed a confirmation message on the screen. Press ESC if you would like to stop the process or press ENT to continue with the process.
- When the process has been completed, you will be displayed a confirmation message on the screen. Press any button to return to the About Menu.
- Press the ESC button to return to the Menu Select Mode.
- Press the ESC button to return to the Main Copy Menu.
- Press the Up or Down buttons until you see Self Diagnostic.
- When Self Diagnostic is displaying for you, press the ENT button to start this process.
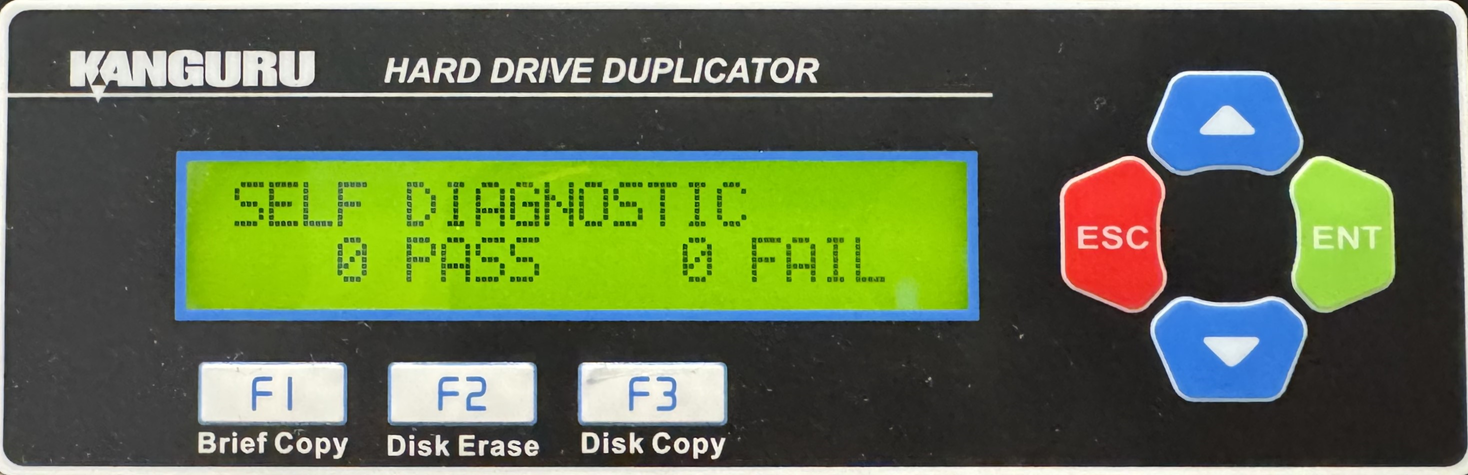
- When the Self Diagnostic is complete, remove the USB flash drive and connect it to your PC.
There will be a new text document saved to the flash drive. Provide this log file to an iStorage Kanguru support technician and they will be able to use it to determine any problems that could be causing duplication failures.


