How to Upgrade Your KRMC 8 to a New Virtual Appliance

KRMC v8.x updates are provided either as application patches that can be applied to existing installation or appliance updates that are powered up as a new appliance and then the current appliance settings and database are migrated to the new appliance.
This document provides the steps needed to transfer the data from your existing KRMC 8 server appliance to a new appliance. This upgrade procedure will require:
1) Access to KRMC 8 virtual appliance interface. This is usually visible using the hypervisor/VMware application.
2) Knowledge of current KRMC 8 server’s Super Administrator (SA) credentials
3) New KRMC 8 appliance file from Kanguru downloaded locally
NOTE: Prior to performing any updates on KRMC make sure that a snapshot of the original KRMC server is taken. Incase there are any issues during the update process you can revert to that snapshot. If no snapshot/backup is taken prior to performing an update there is a chance data will be unable to be recovered from the database to be migrated to a different system.
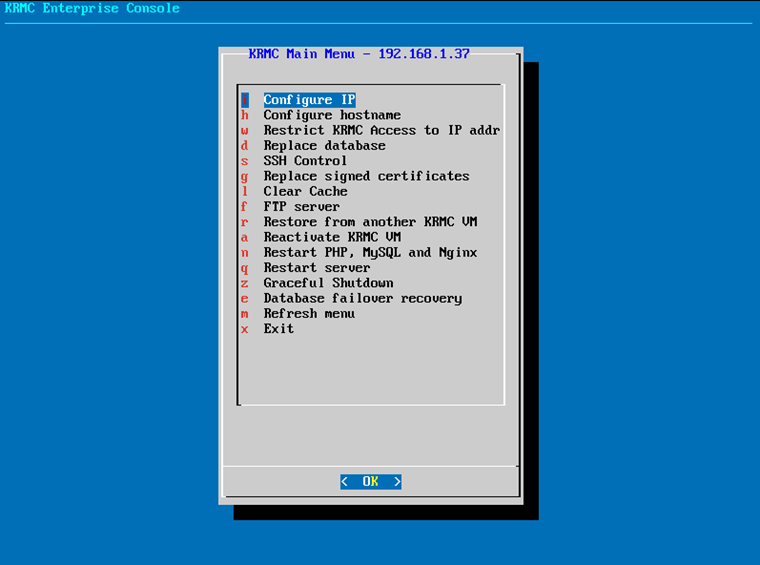
- When you access the KRMC 8 virtual appliance interface, take note of the current IP address designated for it. This will be located at the top of the menu (in this case it is 192.168.1.37).
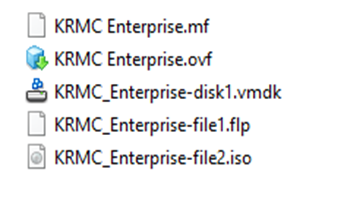
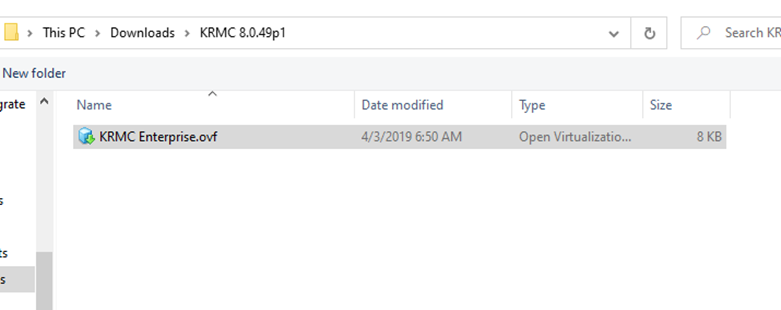
- Extract the downloaded update file into a folder on your system. There are usually around 6 files that follow the naming convention shown below.
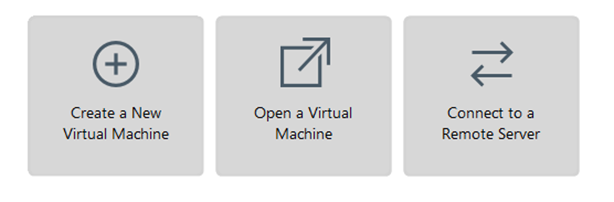
- Next, we need to import the OVF file into your virtual environment. For this document we have assumed VMware as hypervisor. If you use another hypervisor, please follow the steps for that hypervisor to start a new VM using an existing .ovf file. For VMWare, please select “Open a Virtual Machine” and select the .ovf file “KRMC Enterprise.ovf”.
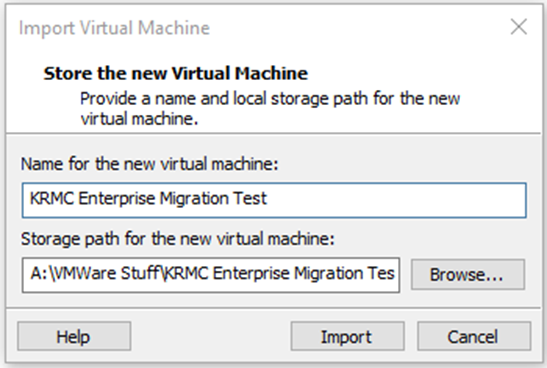
- Name the new virtual machine and import it into your environment. Once the import is completed, simply power on the system and wait for it to boot up.
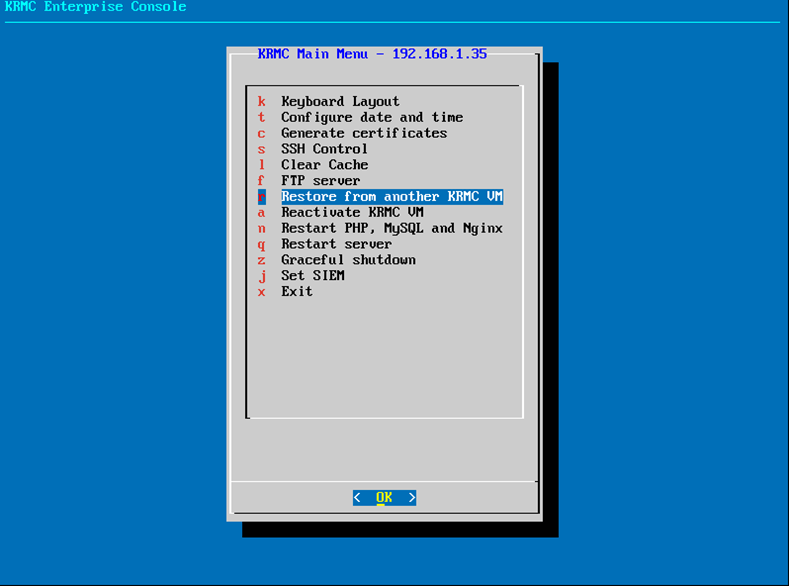
- You should see a menu similar to the existing KRMC 8 server however missing a few options (such as configure IP). From here you will need to complete the following in order:
- Configure date and time
- Generate certificates
- Select Restore from another KRMC VM
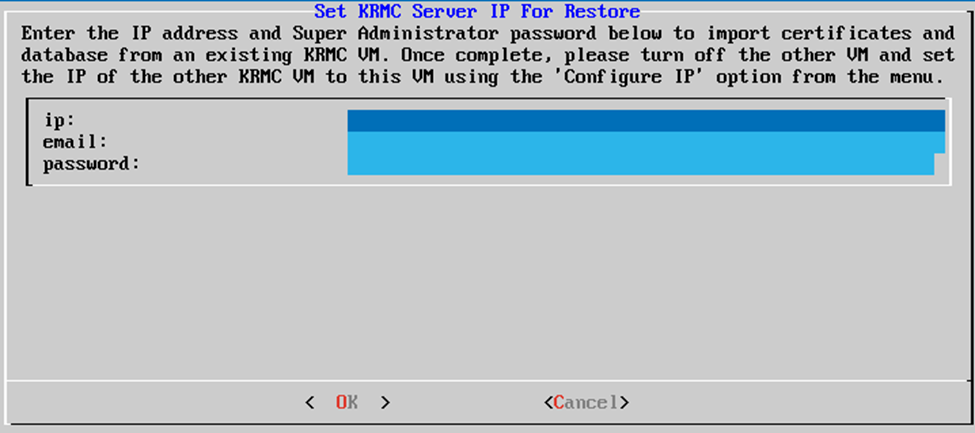
- You will be asked to enter the IP address of the current KRMC 8 server that you are looking to update from (in this case 192.168.1.37), as well as the SA login credentials for that KRMC 8 server. When this information is entered, select “OK” and the process will start. This can take some time depending on your environment and it may look like nothing is happening except for a blinking dash on the bottom left side of the screen. Please wait and do not power off or power cycle either virtual machine.
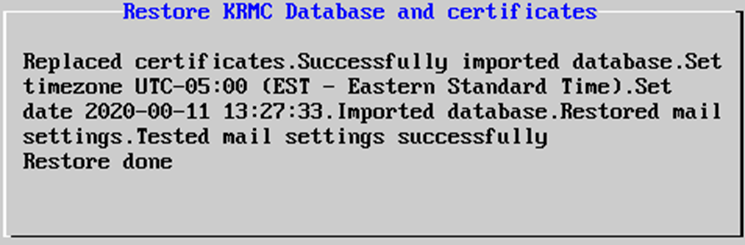
- When completed, you should receive a message stating that this was successful. Press the enter key on your keyboard and you should now be able to configure your IP address to the new server to match the original one. Setting the IP address of your new server to the same as the earlier server ensures that your managed Defender drives do not have to be reconfigured with a new IP for the new KRMC Server. You should at this point power off the original server and confirm that you can reach the KRMC 8 login screen of your new server using your web browser.