
11-Target NVMe Duplicator - Connecting Standard SATA Drives

Users upgrading their computer hardware often need to make a duplicate of their SATA HDD or SSD on a high-performance M.2 NVMe or M.2 SATA drive. The KanguruClone 11 M.2 NVMe SSD Pro supports both natively, but can be retrofitted with a SATA adapter in order to support a standard SATA drive.
Follow these steps below to install the provided SATA adapter in your KanguruClone 11 M.2 NVME Duplicator. Please note that you can buy additional adapters to convert the other ports on your duplicator using the same steps listed.
- Power off the duplicator and unplug the power cable. WARNING! attempting these steps while the duplicator is powered on could result in permanent damage.
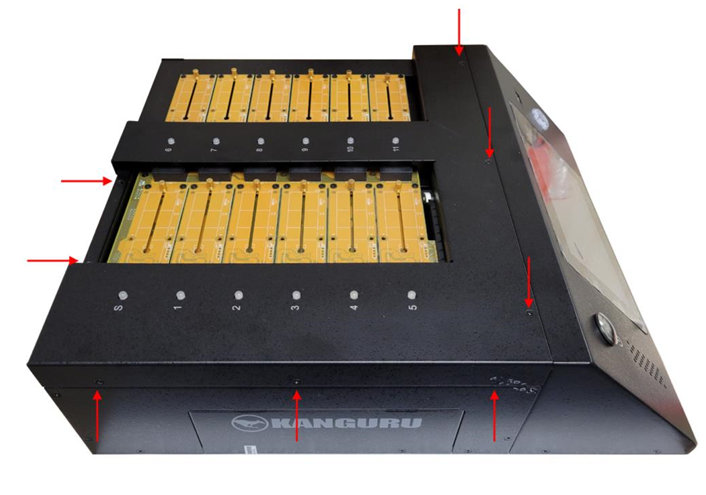
- Locate and remove the 8x screws that attach the top panel to the main housing.
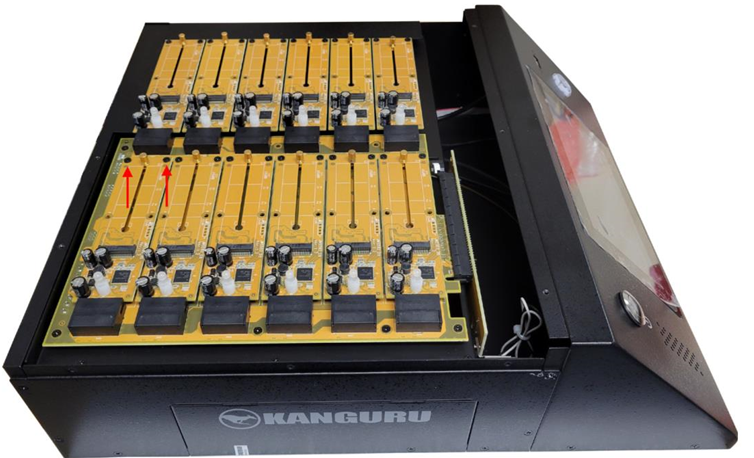
- Remove the top panel and remove the 2x screws that attach the Source port board.
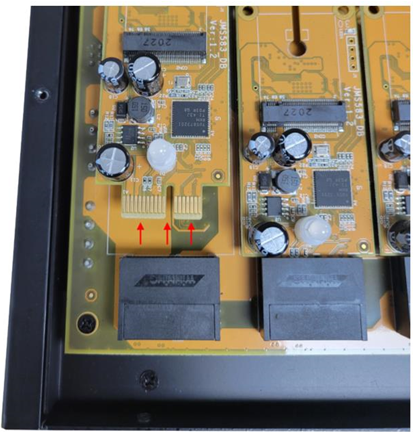
- Pull the Source port board away from the socket to disconnect it.
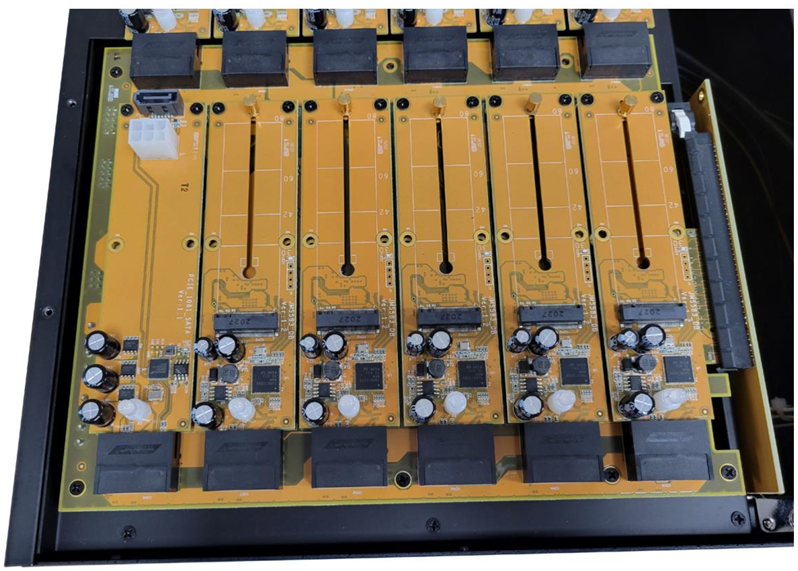
- Replace the Source port board with the SATA adapter board. Fasten the SATA adapter board using the two screws that were removed in step 3.
- Replace the top panel and fasten it using the 8x screws that were removed in step 2.
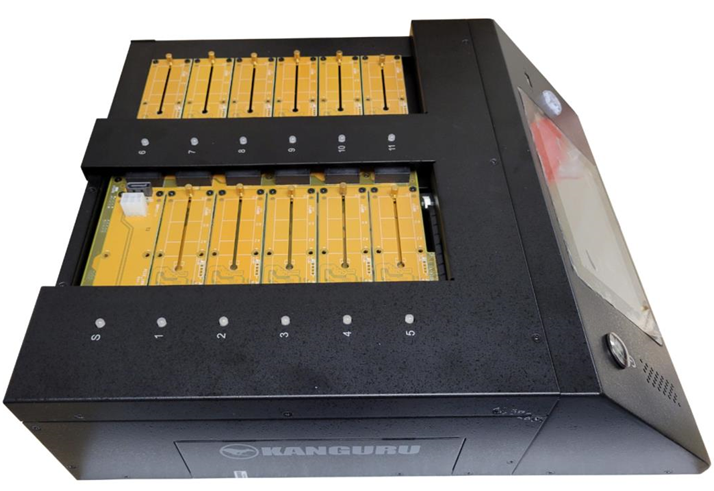
- Attach the provided SATA cable to the SATA adapter board.
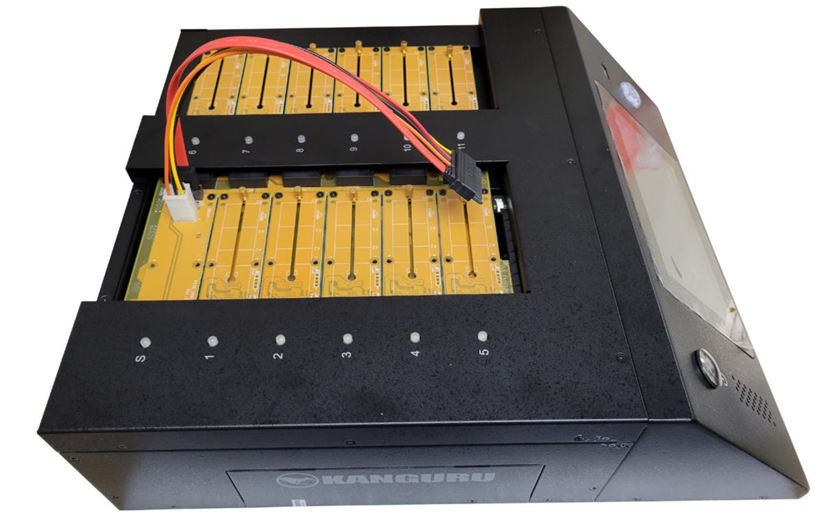
You are now able to connect a SATA HDD or SSD to the Source port for duplication.


