
HD Pro Duplicator - Main Copy Menu - Erase - Security Erase

Secure Erase is a set of firmware commands available on many ATA drives. These commands are used as a secure method of data sanitization by completely overwriting all data on a drive. When a Secure Erase command is issued against an SSD, all of its cells will be marked as empty, restoring it to factory default configuration. Unlike Disk Wipe and Disk Erase, the Secure Erase process is effective at sanitizing SSDs because it can access and erase all sectors on an SSD.
Secure Erase is approved by the National Institute of Standards and Technology (NIST) Special Publication 800-88 as a method for purging ATA hard disk drives.
Caution! Unlike Disk Wipe or Disk Erase , the duplicator only invokes the Secure Erase command. The actual data wiping is done at the drive firmware level. Please keep the following points in mind:
- Although most ATA drive manufacturers include Secure Erase commands in firmware, not all do. Please check with the drive manufacturer to verify that your drive model supports ATA Secure Erase before attempting.
- Although the duplicator can report whether the function completed, it cannot guarantee that the Secure Erase function was implemented correctly by the drive. It is recommended to check with the drive manufacturer for verification that the data was actually wiped.
To perform a Security Erase:
- Power on the duplicator.
- Connect drives to the Target ports on the duplicator.
- From the Main Copy Menu press the Up or Down buttons until you see Security Erase.
- When Security Erase is displaying for you, press the ENT button to start this process.
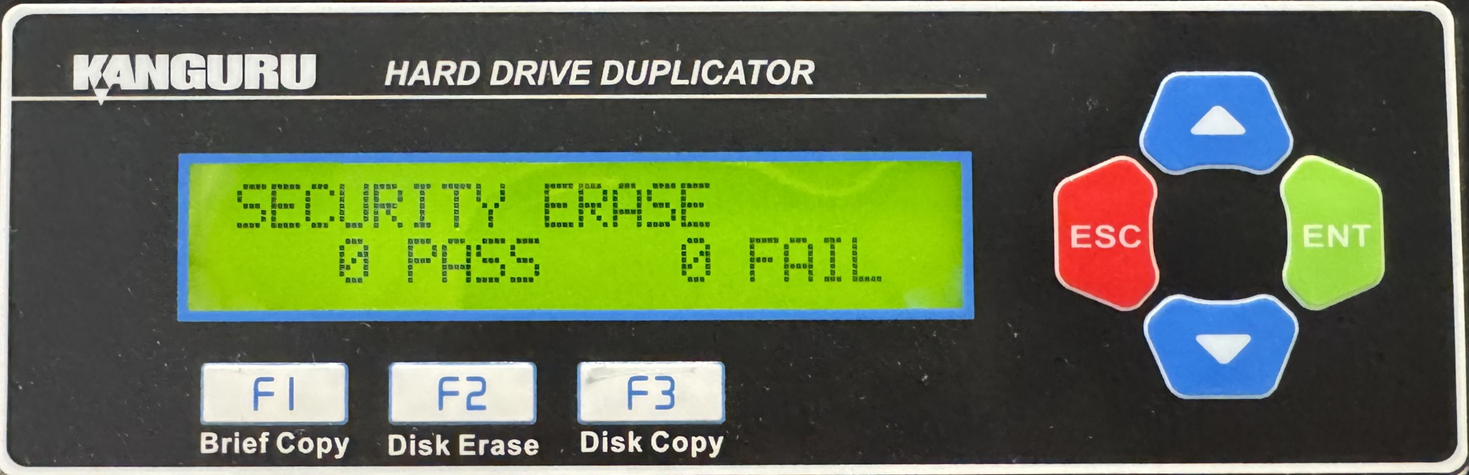
Note: The Source port is not able to be erased unless you enable Erase Source Port located under Main Setup.


