
HD Pro Duplicator - Storage Center Setup - Delete Image File

The Delete Image File option is used to delete a specific image file that has been saved to the Storage Center.
To select an image file name:
- Power on the duplicator.
- Connect your Storage Center drive to the Source port on the duplicator.
- From the Main Copy Menu press the ESC button to enter the Menu Select mode.
- Press the Up or Down buttons until you see Storage Center Setup.
- When Storage Center Setup is displaying for you, press the ENT button to enter this menu.
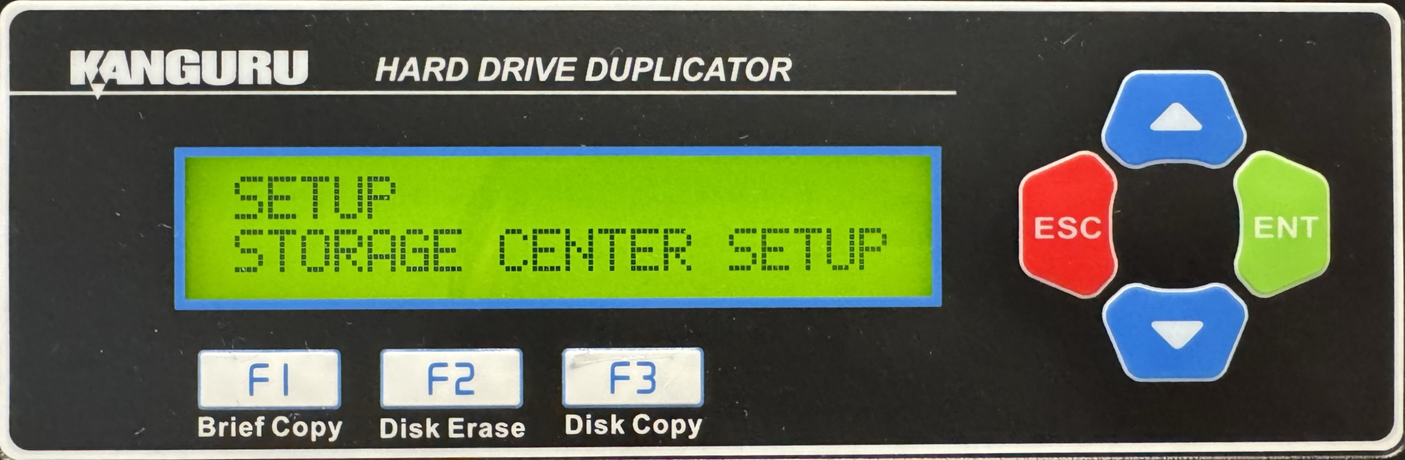
- Press the Up or Down buttons until you see Select Image File.
- When Select Image File is displaying for you, press the ENT button to alter this setting.
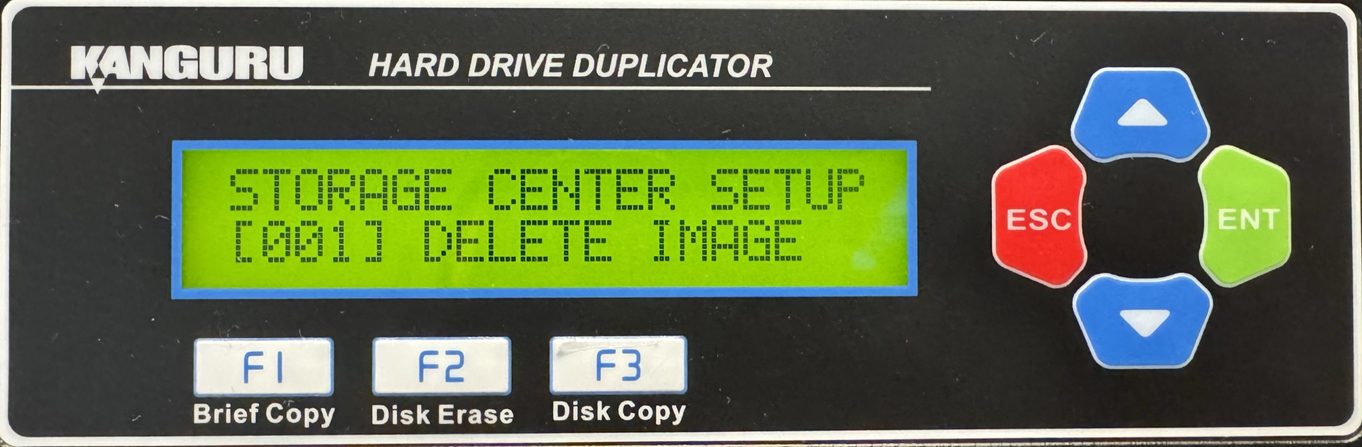
- The digit furthest to the left will start blinking, indicating that it is currently selected. Tap the Up or Down buttons to increase or decrease the digit by one.
- Tap the ENT button to select the next digit to the right. Tap the Up or Down buttons to increase or decrease the digit by one.
- Repeat step 2 until you have entered the complete image name, then press and hold the ENT button to select the image file for deletion.
- When successful you can press the ESC button to return to the Menu Select mode.
Note: If you receive a “File Not Found” error message, then there is no data saved to the image file that you selected.


